With spring here and summer on the way, it would be good to clean the air vents and ducts through which your home air passes. Dust, dander, filth, hair, and insect fragments are at home in your air vents and ducts, polluting the air you breathe. When you consider the amount of dust and debris that gets into your air ducts, it only makes sense to clean them regularly. After all, who wants dirty, dusty air blowing through their house? Dryer Vent Cleaning is crucial for improving the air quality in your home!
Why do it yourself?
Most homeowners have never had any instruction on how to care for their houses properly, and as a result, they have to learn things the hard way. However, Cleaning Air ducts do not have to be something you hire someone to do or invest a considerable deal of time and effort into learning how to. You almost certainly don’t have a truck-mounted vacuum system with 150-foot hoses. However, we’ll show you how to clean your air ducts independently. You won’t get as far as a commercial business inside your duct system. That’s all right. The majority of the material in your ducts will naturally gravitate toward the registers, which you can easily access.
To wash your air ducts, gather the following materials:
Here is the Cleaning Air ducts equipment you’ll need to get the job done.
- Furnace filter. You’ll undoubtedly need a new furnace filter at the end of the project. Make sure you select the appropriate filter for your furnace.
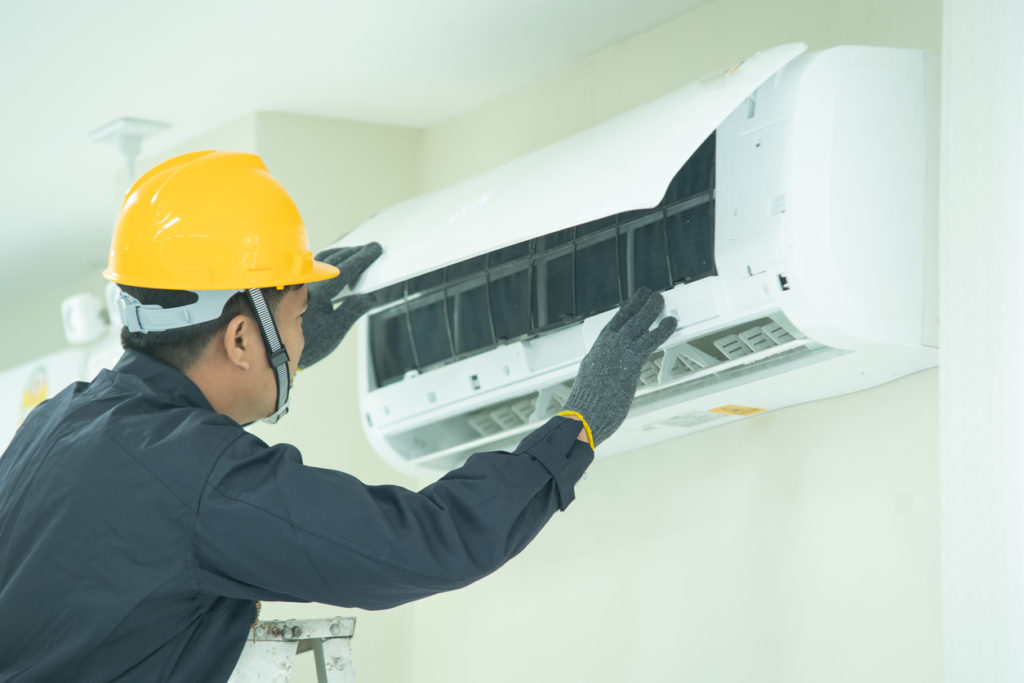
- While cleaning, wear protective gloves and a face mask or eyeglasses.
- Vacuum. To clean the dust and debris from your air registers, you’ll need a vacuum. A typical household vacuum is unlikely to be strong enough. Make that the vacuum you hire has a long hose to reach the ducts.
- A toilet brush will work nicely, but a stiff-bristled paintbrush will suffice if you don’t have one on hand.
- Power drill. You can remove screws from the vents using a power drill, but also use a screwdriver. Make sure the screwdriver is suitable for the screws on your different registers.
- Cleaning cloth. A microfiber cloth works best.
- Paper towels. You probably don’t want to perform any more cleaning when you’re done. Make sure you have enough paper towels on hand to make the most of your time – they’ll come in handy.
Which vents are which?
If you’re a first-time homeowner, you might not realize that your home has a variety of vents that go to the ductwork. A tissue test is a simple approach to determining each kind. If you put a tissue on the vent and it sticks, it’s a return duct, which means the vent is there to return air from the house to the HVAC system. If the tissue doesn’t attach to the vent, it’s a supply vent. It blows warm or cold air from the HVAC system, depending on whether your furnace or air conditioner is on.
Don’t be confused if there are vents outside of your home. These vents enable air to flow into and out of your attic and are not part of your HVAC system. Therefore they do not require Dryer Vent Cleaning purposes.
Step-by-Step Cleaning Air ducts
- Remove the screws from the air duct covers and return-air grill plates.
- Cover your supply vents (the vents that feed the rooms with heat or air) with paper towels. First, cover any ducts that aren’t being cleaned to prevent dust and grime from blowing in and out while you clean other areas. Next, lift the supply vents and sandwich a paper towel between the vent cover and the wall or floor. Because you’ll be returning to remove the paper towels and clean each air vent, the vent should stay in place without requiring all of the screws to be replaced.
- Make sure your thermostat is turned to “fan on.” The fan moves the dust that you loosen when cleaning. Make sure that the heat and cool modes are both turned off. Turn on the heat if your thermostat does not offer a “fan-only” option.
- Loosen dust in ducts. Dust that has gathered in the ducts should be remove. Dust clumps stuck inside the vents can be release with tapping. Grab the brush handle and begin tapping on any ducting in the basement that is accessible. This will assist in breaking up any deposits of moistened dust that may have adhered to the ducts inside.
- Clean supply registers. You may now start brushing the dust out of your supply register. Lift the record with the suction running and the hose end near the register. Use the hose to gather any dust pushed out by the fan, then sweep as far as the hose can reach into the register pipe. Scuff any built-up dust in the register with your brush. Next, reach down into the duct as far as you can with a moist microfiber cloth and wipe the interior clean. Because there’s a lot of dust and filth up there the first time you do this, you’ll want to rinse the cloth many times. You can dispose of the paper towels you’ve placed in the supply registers as you sweep through the house.
- Clean the return registers. Clean the return air registers. Brush and sweep as far back as possible into the register cavity.
- Shut off the fan and furnace. Turn off the fan at the thermostat and the furnace’s electricity at the service switch or breaker panel. Do not just turn off the thermostat; this will not cut off the unit’s electricity.
- Clean out the blower compartment and return the air boot. Next, remove the furnace’s front panels, access the blower compartment, and replace the air boot with the power turned off. Finally, vacuum the dust accumulated in the blower chamber and return the air boot. This is where the majority of your dust will collect. While you’re here, you should also clean the thermostat fan.
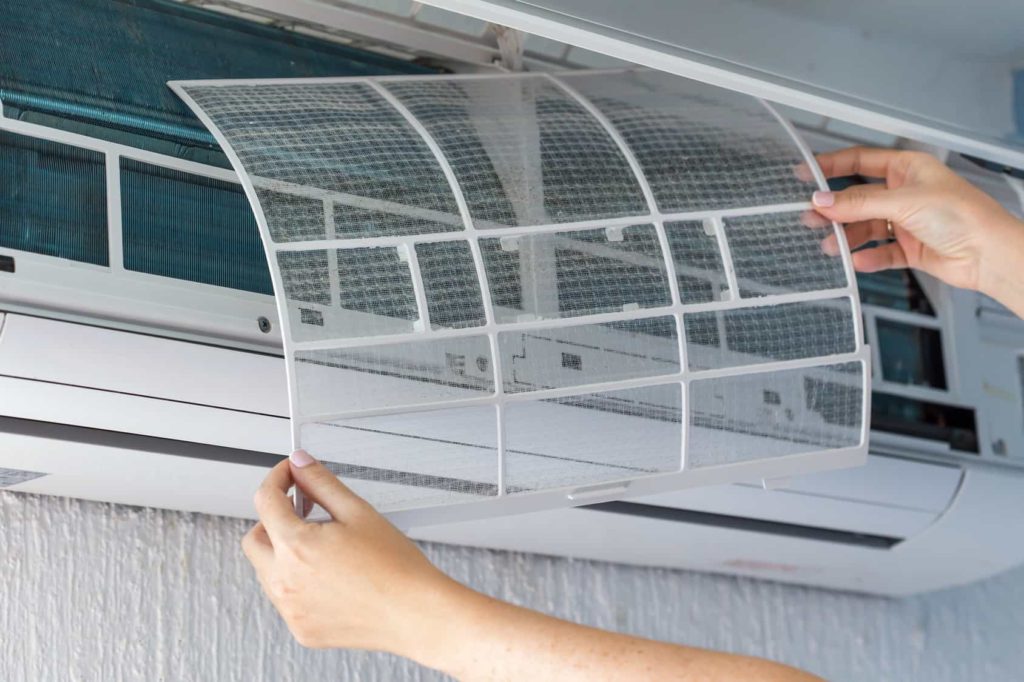
- Replace the furnace filter. If your HVAC filters are clogged with dust, you won’t get the full benefit of cleaning ducts because they were meant to trap. Investing in a better filter helps reduce dust in your house, but the better the filter, the more frequently you need to replace it. In addition, a clogged filter restricts airflow to the fan, causing the blower motor to overheat and shorten its lifespan. To prevent allergens in your home, clean or replace thermostat filters at least monthly.
We hope we’ve helped provide these tips for cleaning your air vents.
All-new system installations at Cleaning Air Ducts Washtenaw come with a one-year guarantee. In addition, Dryer Vent Cleaning offers a 10-year warranty on parts and a one-year guarantee on labor. Cleaning Air Ducts Washtenaw wants you to be happy with our services and suggest us to your friends and family, so we’ll go above and beyond to earn your business and referrals. Notify us if you require further assistance or have any queries.
Read More:
Air Duct Cleaning Companies Oakland – Local experts in the service industry
Follow Us:
Pinterest , Reddit , Quora